Calm Marketplace Part 1
In this exercise you will learn how to manage Calm Blueprints within the Nutanix Marketplace. As part of the exercise you will publish a pre-configured Blueprint to the local Marketplace, clone the Blueprint from the Marketplace for editing, and launch the application.
Publishing Blueprints from Marketplace Manager
By default, Calm comes pre-seeded with validated Blueprints for multiple open source and enterprise applications. Marketplace Manager acts as a staging area for publishing default and user-created Blueprints to your local Marketplace. The Marketplace acts as an application store, providing end users with a catalog of available applications.
From Prism Central > Apps, select  Marketplace Manager from the sidebar.
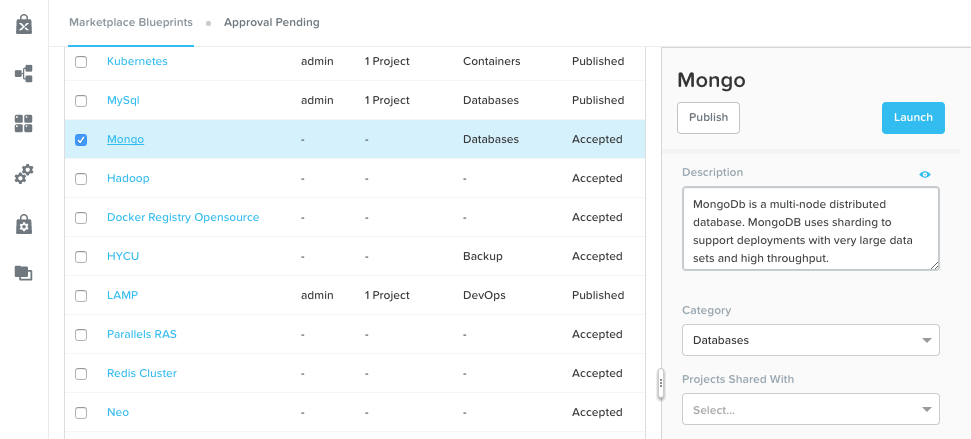
Under Marketplace Blueprints, select Mongo.
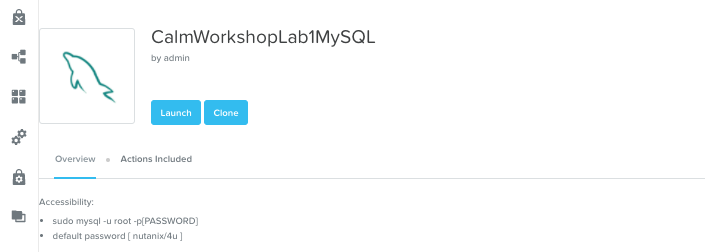
The Blueprint description contains key information including licensing, hardware requirements, OS, supported platforms, and limitations.
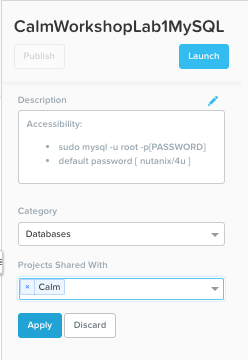
Select the Calm project from the right-hand side drop down and Click Publish.
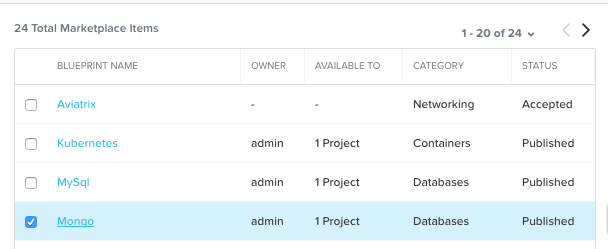
Wait for the Blueprint Status to appear as Published.
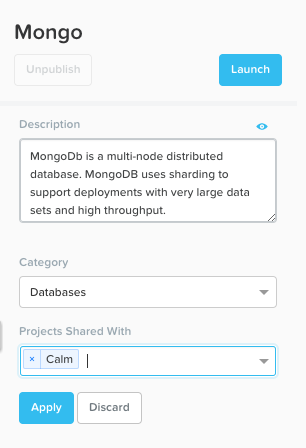
Under Projects Shared With, select the Calm Project and click Apply.
Note
If the Projects Shared With drop down menu is unavailable, refresh your browser.
Cloning Blueprints from Marketplace
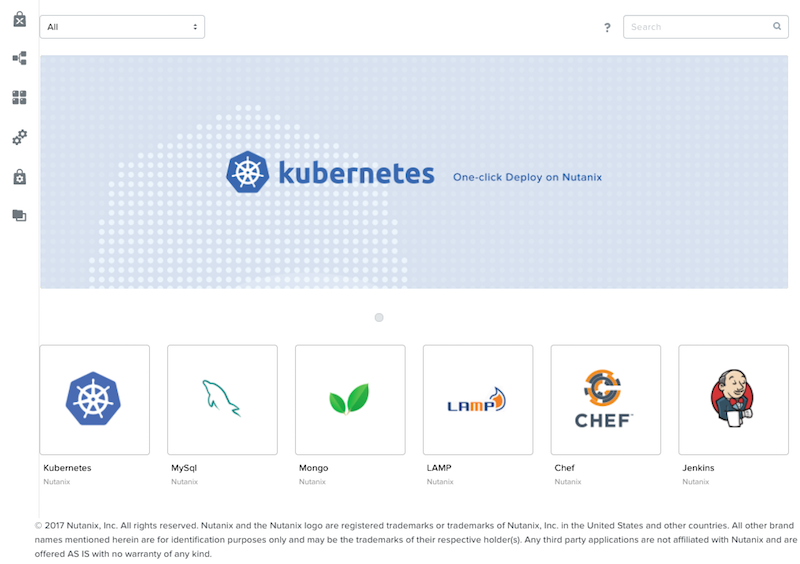
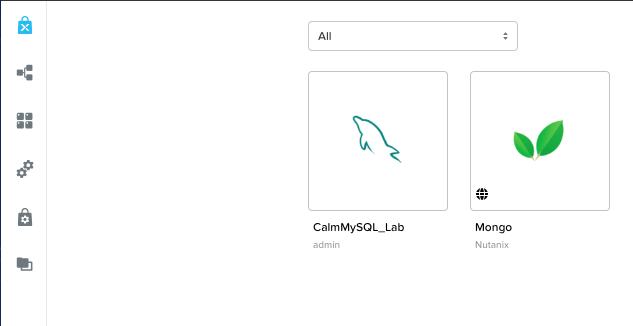
From Prism Central > Apps, select  Marketplace from the sidebar. All Blueprints published in Marketplace Manager are visible here.
Select the Mongo Blueprint and click Clone.
Note
Selecting Actions Included for a Blueprint will display the actions that have been implemented for a given Blueprint, such as Create, Start, Stop, Delete, Update, Scale Up, Scale Down, etc.
Fill out the following fields and click Clone:
- Blueprint Name - MongoDB*<INITIALS>*
- Project - Calm
Editing Cloned Blueprint
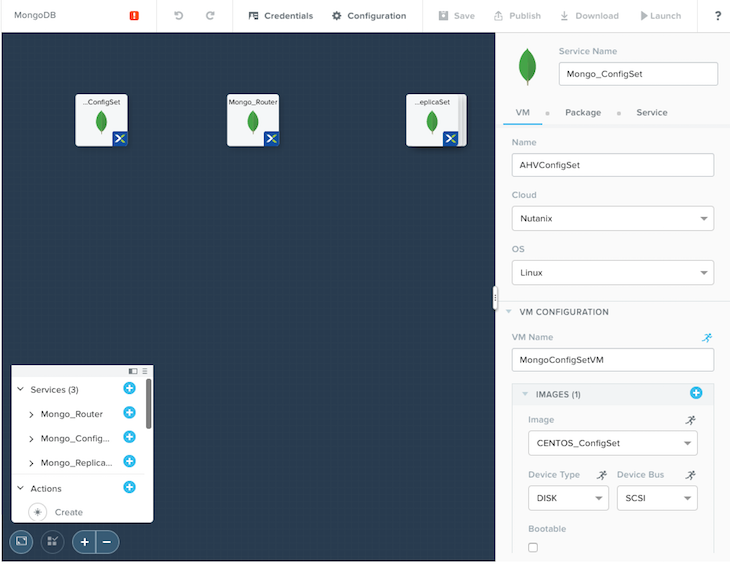
Select  Blueprints from the sidebar and click your MongoDB<INITIALS> Blueprint to open the Blueprint Editor.
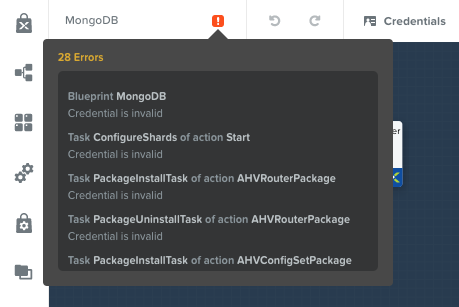
Click to review the list of errors that would prevent a successful deployment of the Blueprint.
Click Credentials and select CENTOS (Default).
Fill out the following fields and click Back:
- Username - root
- Secret - Password
- Password - nutanix/4u
Select the Mongo_ConfigSet Service and make the following changes in the Configuration Pane:
- Update the VM Configuration > Image to CentOS.
- Update the Network Adapters > NIC to Primary.
- Update the Connection > Credential to CENTOS.
- Uncheck Guest Customization
Repeat these steps for the Mongo_Router and Mongo_ReplicaSet Services.
Click Save.
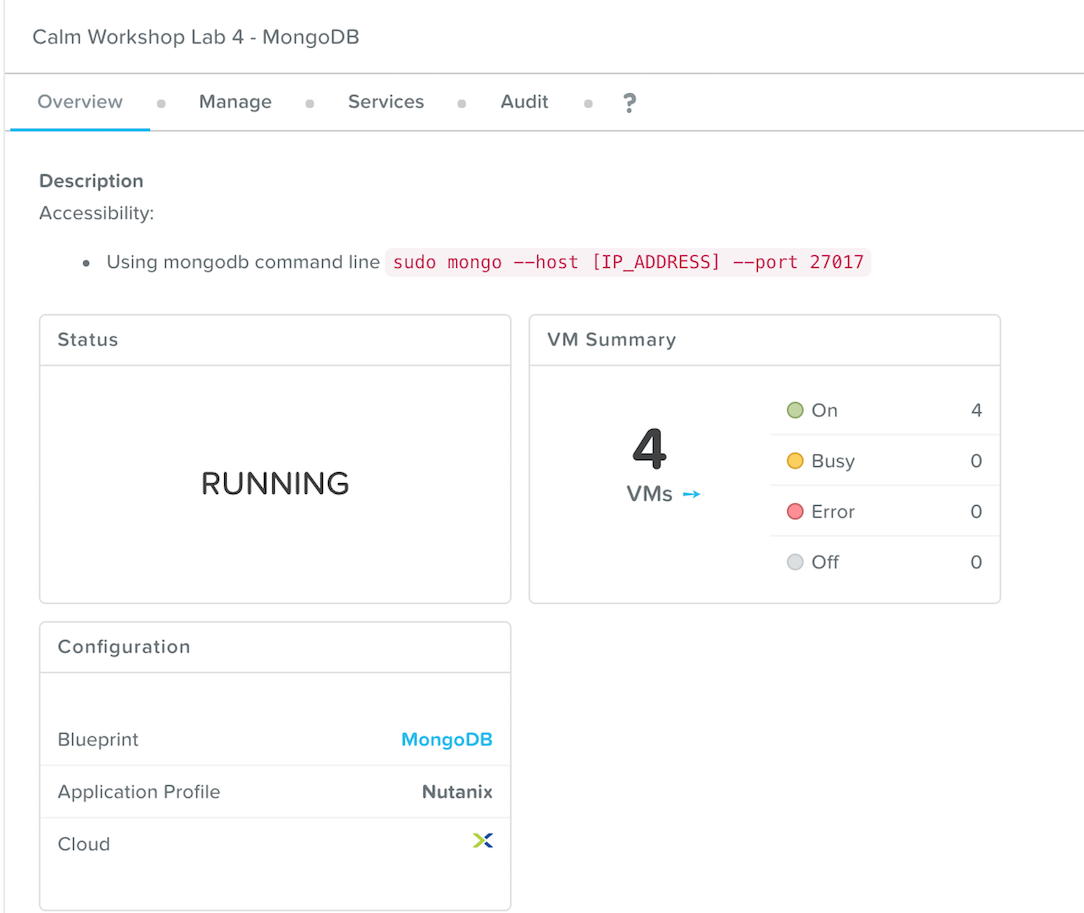
Click Launch. Specify a unique Application Name (e.g. MongoDB*<INITIALS>*-1) and click Create.
Calm Marketplace Part 2
Note
This exercise assumes you have a Blueprint available from a previous exercise.
In this exercise you will learn how to manage Calm Blueprints within the Nutanix Marketplace. As part of the exercise you will publish a Blueprint from the Blueprint Editor, use Marketplace Manager to approve, assign roles and projects, and publish to the Marketplace. Finally you will edit a project environment so your Blueprint can be launched directly from the Marketplace.
Publishing Blueprints
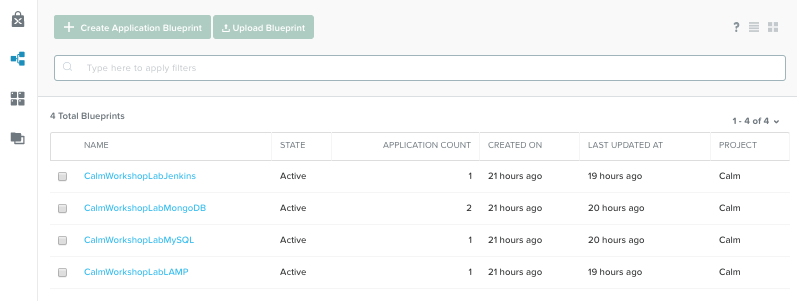
From Prism Central > Apps, select Blueprints from the sidebar.
Open any Active Blueprint by clicking on its Name.
Click Publish.
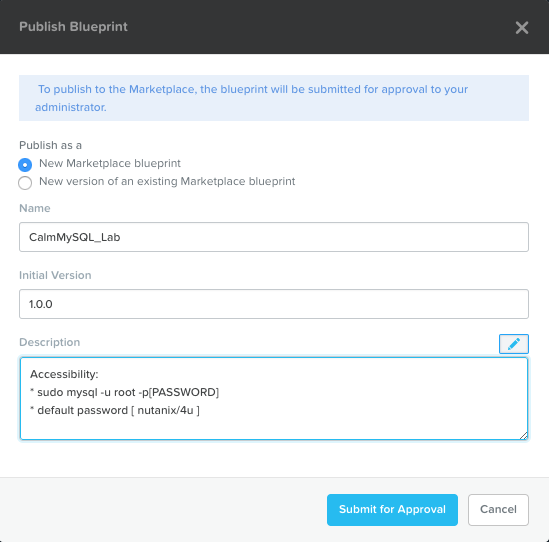
Provide the following details:
- Name (e.g. Blueprint Name <INITIALS>)
- Publish as a - New Marketplace blueprint
- Initial Version - 1.0.0
- Description - Finished MySQL app
Click Submit for Approval.
Approving Blueprints
From Prism Central > Apps, select Marketplace Manager from the sidebar.
Note
You must be logged in as a Cluster Admin user to access the Marketplace Manager.
Note your Blueprint does not appear in the list of Marketplace Items.
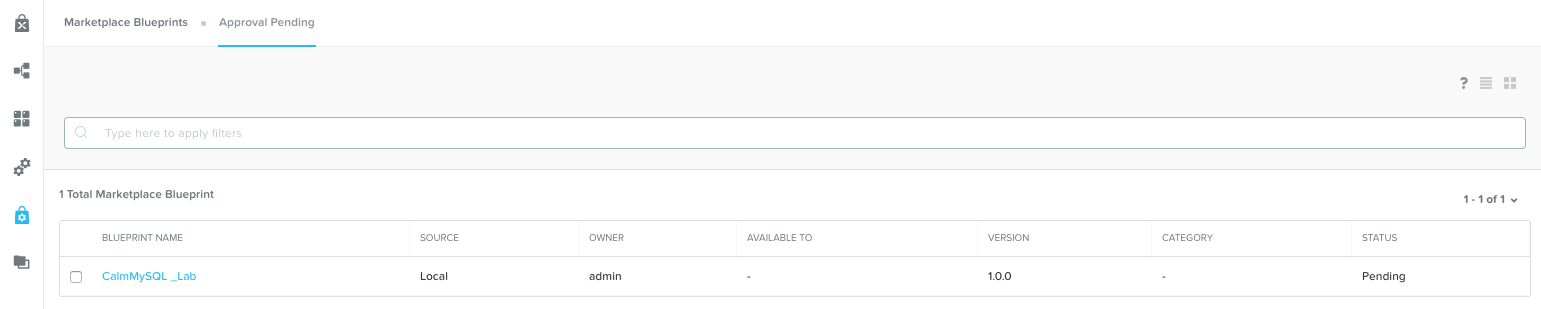
Select the Approval Pending tab.
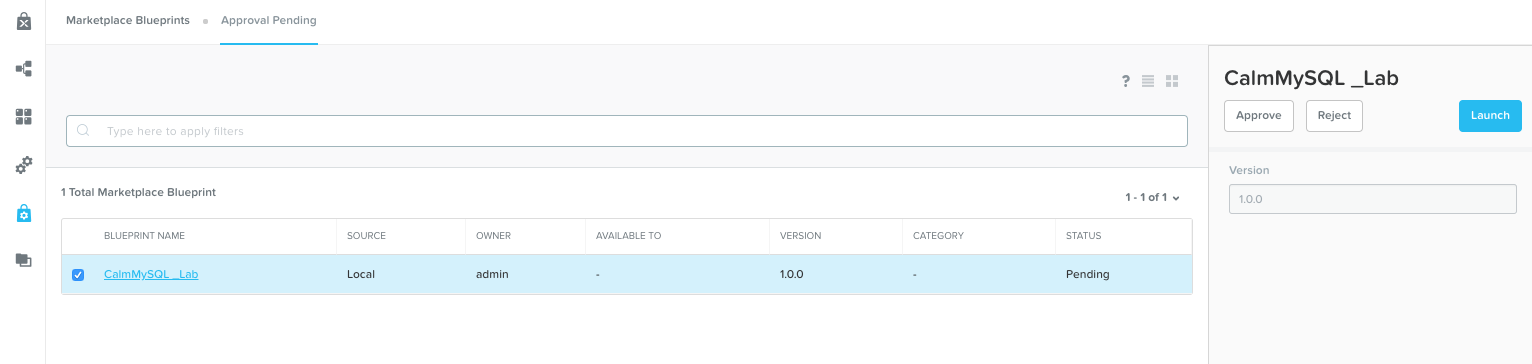
Select your Pending Blueprint.
Review the available actions:
- Reject - Prevents Blueprint from being launched or published in the Marketplace. The Blueprint will need to be submitted again after being rejected before it can be published.
- Approve - Approves the Blueprint for publication to the Marketplace.
- Launch - Launches the Blueprint as an application, similar to launching from the Blueprint Editor.
Click Approve.
Once the application has been successfully approved, it will appear under the Marketplace Blueprints tabs. Find it and assign the appropriate Category and Project Shared With. Click Apply.
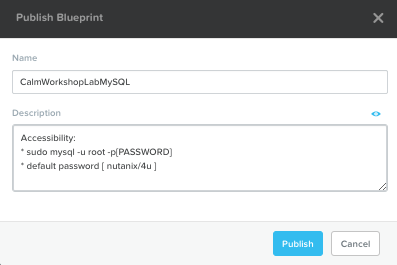
Select select your Blueprint from the Marketplace Blueprints tab and click Publish.
Verify the Blueprint’s Status is now shown as Published.
From Prism Central > Apps, select Marketplace from the sidebar. Verify your Blueprint is available for launching as an application.
Configuring Project Environment
To launch a Blueprint directly from the Marketplace, we need to ensure our Project has all of the requisite environment details to satisfy the Blueprint.
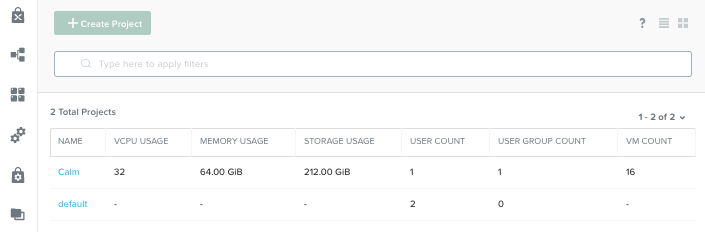
From Prism Central > Apps, select  Projects from the sidebar.
Select the Project Name associated with your Blueprint at the time of publishing (e.g. the Calm Project that was assigned as Project Shared With).
Select the Environment tab.
Under Credential, click and depending on which track you’re on, do one of the two following steps to add a new credential:
Cloud Track:
- Credential Name - CENTOS
- Username - centos
- Secret - Key
- Key - Paste in your private key from the previous lesson Calm: SSH Key Creation
Local Track:
- Credential Name - CENTOS
- Username - root
- Secret - Password
- Password - nutanix/4u
- Select Use as default
Under VM Configuration
- select AHV on NUTANIX.
- VM Name - add prefix “default” to the name
- Image - CentOS
- vCPUs - 2
- Cores per vCPU - 1
- Memory - 4GiB
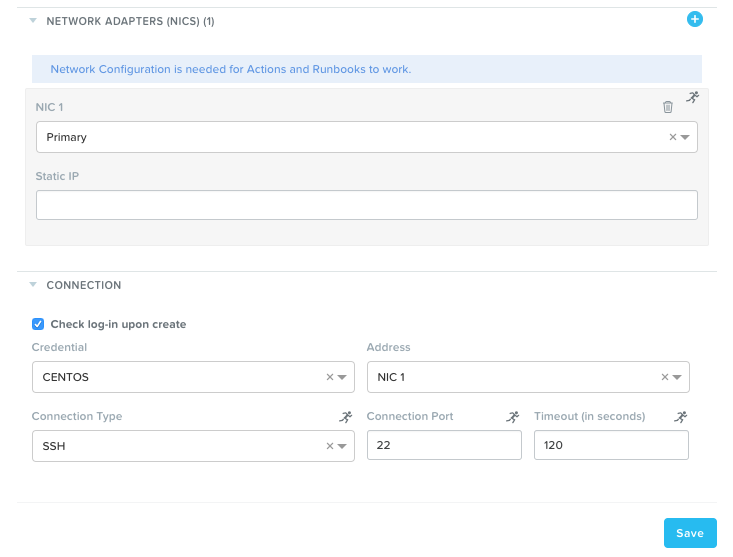
.. figure:: images/marketplace_p2_010.png
Under Network Adapters (NICs), click and select Primary.
Click Save.
Launching Blueprint from the Marketplace
From Prism Central > Apps, select Marketplace from the sidebar.
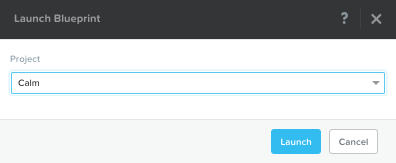
Select the Blueprint published as part of this exercise and click Launch.
Select the Calm Project and click Launch.
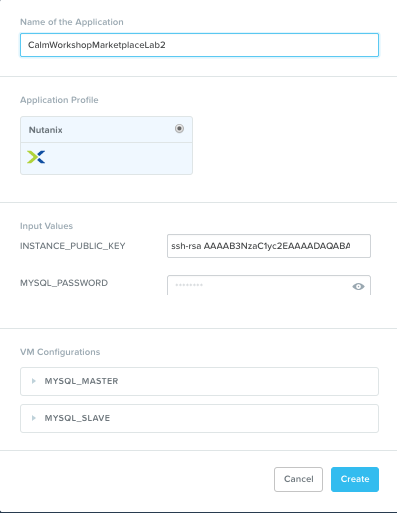
Specify a unique Application Name (e.g. Marketplace*<INITIALS>*) and click Create.
Note
To see the configured Environment details, expand the VM Configurations entities.
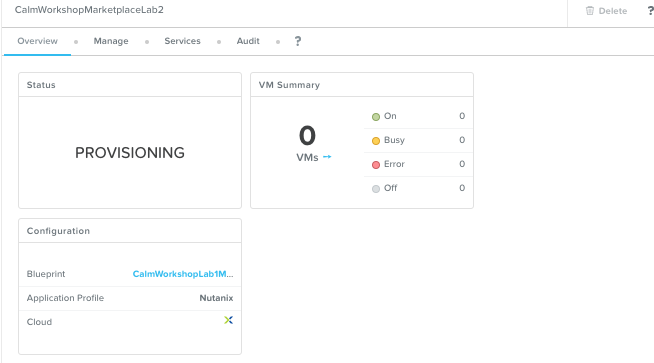
Monitor the provisioning of the Blueprint until complete.